Townsend Style Chest
P. Michael Henderson
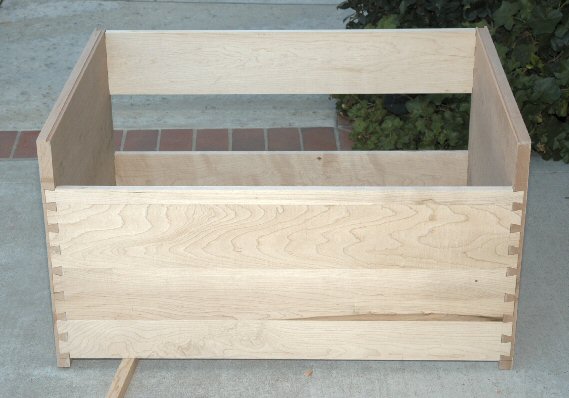
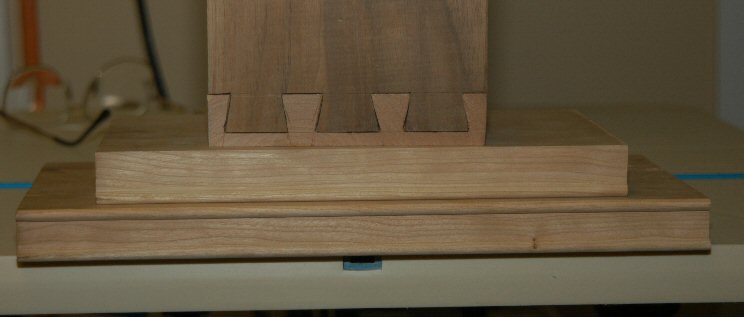
2/7/05 - I completed the dovetails for the front top of the case. In addition to the picture at the top of this page, here's a picture of the bottom of the case. I cut the cockbeading into the front of the case but haven't relieved the front edge to make the cockbeading stand proud. I'm afraid that I will damage the cockbeading if I do that (shop rash) - so I'm leaving it to later.
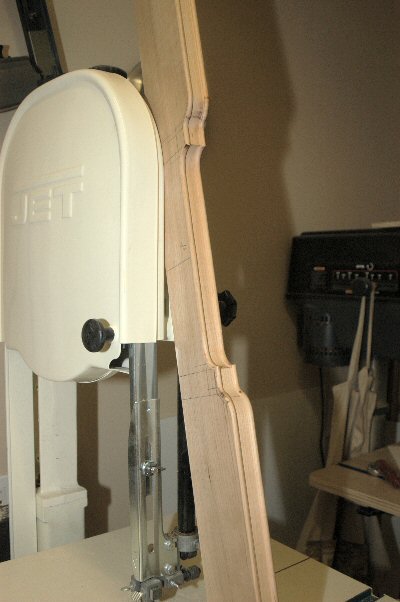
2/6/05 - I started building the drawer dividers (see pictures below). It turns out that the first one I did was a practice piece because I miss-measured - note that one blockfront is wider than the other. However, it did give me some experience with the layout and with routing the cockbead. There's a couple of places on the divider that I will have to do hand work. The blockfront should come back and create a sharp arris where it meets the face. However, router bits cannot create a sharp inside arris - they round the corner. I'll have to carve this by hand.

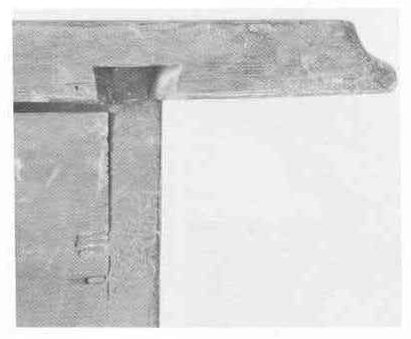
2/5/05 - I completed the dovetails for the bottom and the back top of the case. Note that I'm building the case in Newport style instead of Boston style, meaning that there's a "false top" which holds the case together - the real top is then attached to the false top. In true Newport style, the back of the real top is attached to the false top with a dovetail keyway to allow for wood movement. I don't know if I'll do that or not. A Boston top is shown on the left, with a Newport top shown on the right.

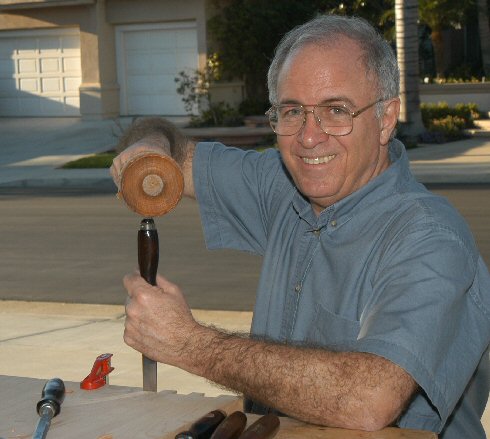
2/3/05 - The bottom is attached to the sides with dovetail joints. These joints will not show when the chest is finished so they're perfect for my dovetail practice. Here I am cutting chopping out the slots in the side which the tails will fit into. This is the hard work of making dovetails - cutting the tails themselves is fairly easy - but cutting the slots they will fit into (for half blind dovetails) is really hard work. Makes you appreciate the craftsmen who made 18th century furniture.

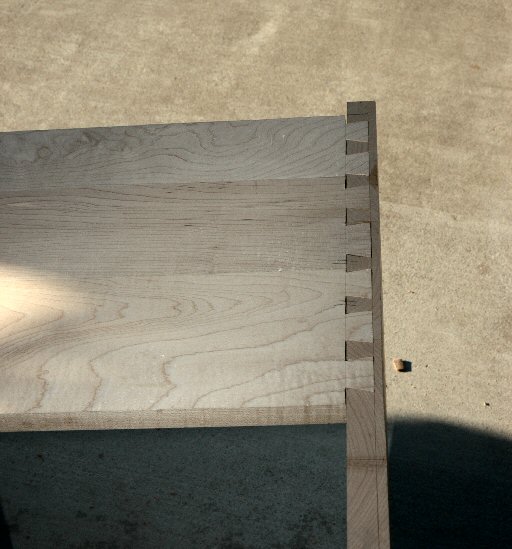
Above you can see the cut tails and pins and how they fit together. Overall, I'm satisfied with the fit. One of the tails had a gap on the side but considering it's the first dovetails I've done (except for the practice ones shown above), I'm satisfied.
2/1/05 - I've glued up the sides and the bottom and have practiced cutting cockbeading with router bits. I'm also practicing making dovetails. Although it's a bit hard to see in the picture, the bottom board has two cockbeads, the center board has a cockbead on the bottom of the edge, and the top shows my first attempt at hand cut dovetails. The dovetails aren't good enough for drawers yet but will be good enough for attaching the main case sides and bottom/top since these dovetails are hidden after the chest is assembled. Making those dovetails will give me some experience - and hopefully, I'll improve.
1/30/05 - I finished drawing up the plans for the chest. It's EXTREMELY difficult to find information on how these chest were built, especially measurements - and I searched all over. My primary sources of information have been Issue 23 of Fine Woodworking, with articles on blockfront furniture and plans for a non-shell chest, and Franklin H. Gottshall's book "Making Furniture Masterpieces". Gottshall has plans for a three drawer shell blockfront which was probably really intended as the base of a "chest on chest" rather than a true chest of drawers. Almost all American 18th century chest of drawers were four drawer, while many "chest on chest" had three drawer bases. Additionally, Gottshall's chest is much too wide for a standalone chest of drawers, but about right for the base of a "chest on chest".
I designed my chest to come close to the sizes reported for the Townsend chest in the Metropolitan Museum of Art and in Albert Sack's book "The New Fine Points of Furniture, Early American", page 111 - about 34 1/2 inches high, 36 1/2 inches wide, and 20 inches deep.
I just recently (2/7/05) obtained a library loan of Michael Moses' book, "Master Craftsmen of Newport: the Townsends and Goddards" which provides pictures of many Newport pieces, including chests of drawers. I'm sure that I'll use the pictures when I began carving the shells. While I can't keep the book, I will scan the appropriate sections for later reference.
I'm not going to try to make an exact reproduction. For example, I'm going to use Blum under drawer slides for the drawers instead of wood on wood slides. While the Blum slides are not "authentic", I feel confident that our woodworking ancestors would have used them if they were available in the 18th Century. Another change is that I'm going to do a frame and panel back in cherry instead of the secondary wood shiplap boards which would have been used in the 18th century. Otherwise, I'm going to follow the original design fairly closely. The order of development will be:
1. Build main case - Glue up case sides and bottom. Dovetail case bottom to case sides. Dovetail two boards across top. Cut cockbead into front edge of sides.
2. Fabricate drawer dividers. Shape the dividers and cut the cockbead into the edge. Fit dividers into sides with dovetails, while mitering the cockbead.
3. Fabricate the frame and panel back. Assemble (glue-up) the case.
4. Fabricate the drawer fronts from 12/4 cherry. Carve the concave shell into the middle of the top drawer. Fabricate the drawer sides, bottoms and backs. Cut dovetails to attach sides to drawer front and back. Assemble drawers and fit to the case.
5. Carve two convex shells and apply to top drawer.
6. Cut molding patterns into base material. Assemble base frame.
7. Fabricate feet and attach to base.
8. Attach base to main case.
9. Glue up top. Cut molding pattern into top. Fabricate top molding. Attach top to case, and top molding around top.
10. Apply finish. Attach drawer pull hardware.
If you're interested in some of my other work, you can find it here.